
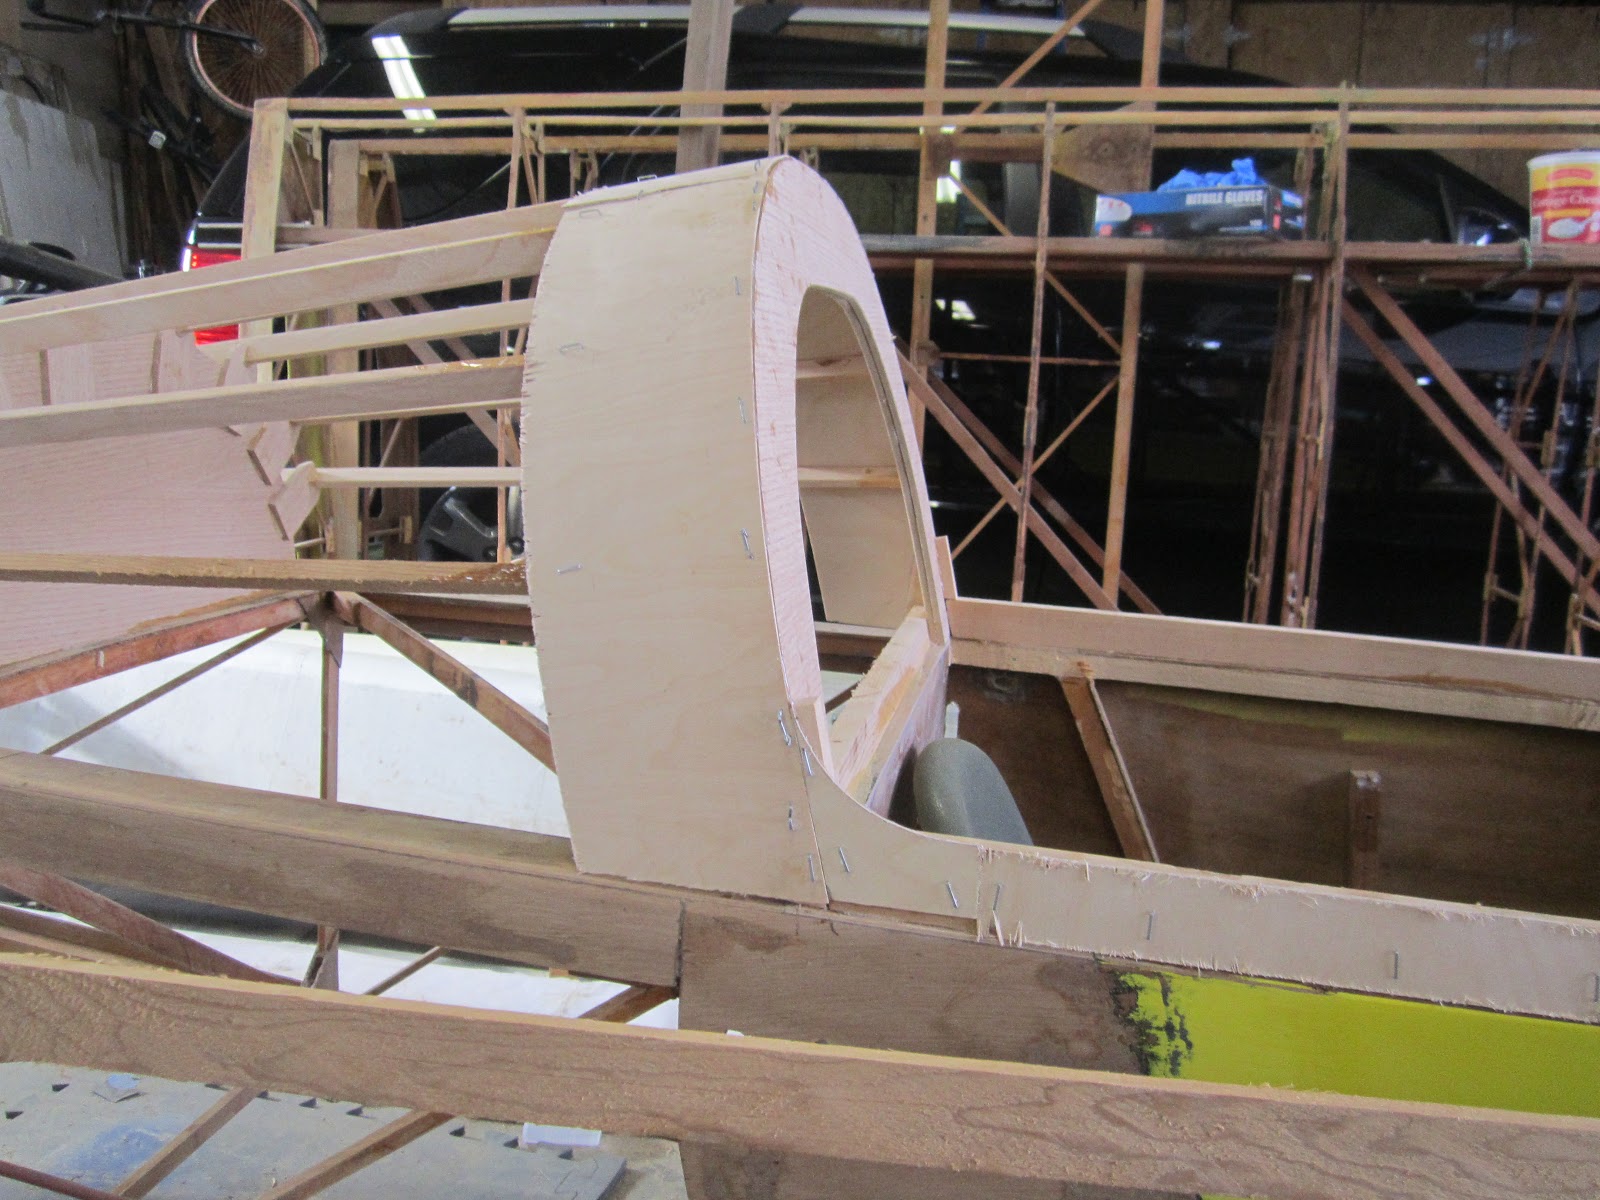
then I build the hood. This piece will go right in front of the cockpit and hold the control panel and windshield. Eventually it will be hinged so I can get in and out of the plane. In this pic the hood's in a little jig I made while the glue dries.

A few pics of the final product..


Here's a couple of the gauges that're going in the dash. I'm still trying to get an airspeed indicator of ebay..

After the hood was finished, I raised up the engine mount for the new engine. Then the rest of the hood was added. ( the stapler is sitting on it in the picture) Eventually I'll make some fibeglass covers for the engine.


Here's some pics with the dashboard part of the hood sitting on the plane. Still no hinge.


Once the main hood pieces were finished I began adding some 'trim' to finish of the outside. All the holes will be bondo-ed to make a smooth surface for painting.


The first engine had two pistons, one of each side. The sides of the plane were cut out so the pistons would fit. Now I"m using a Rotax 277 which only has one piston sticking up the top so I can finish of the sides.


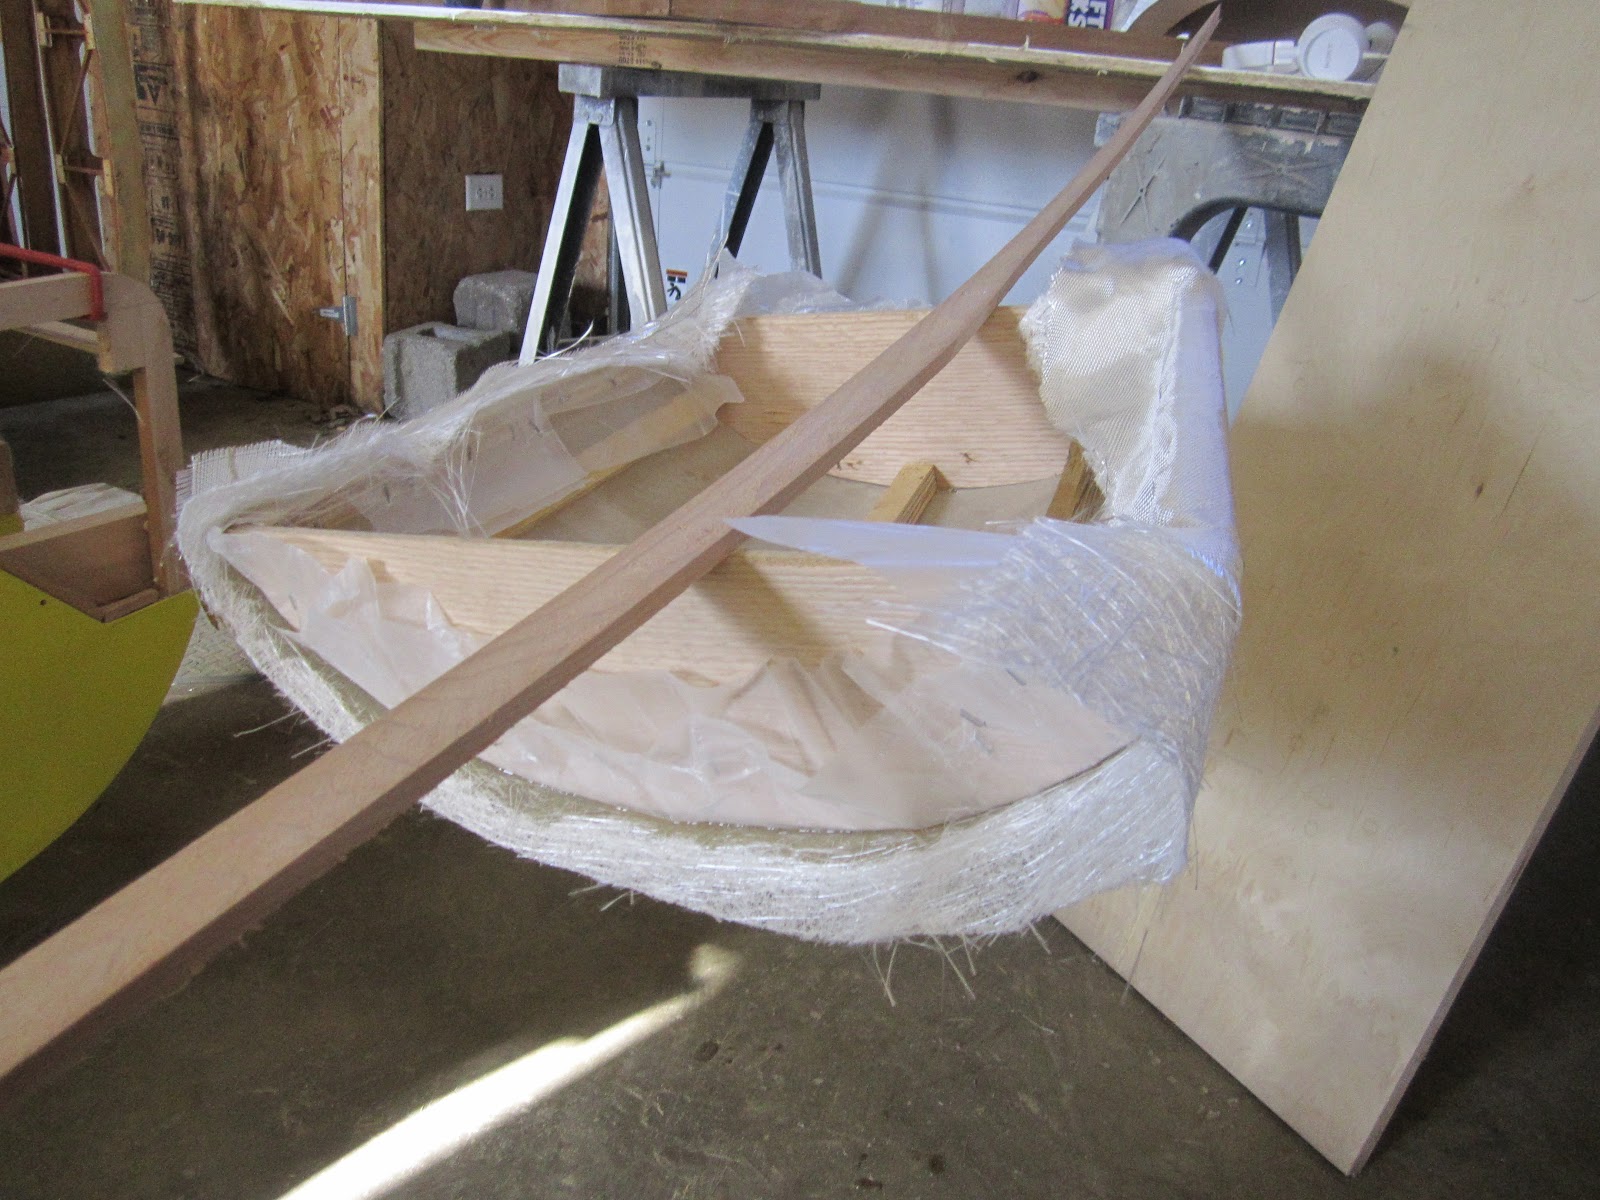
While the glue in the above pic was drying I decided to go ahead and make the fiberglass engine covers.. or at least one of them.. First I made a basic form from some scrap plywood,


Then I covered it with wax paper so the fiberglass won't stick to the form.


While I'm at the fiberglass, I might as well make the gas tank door :)


I got a good deal on some fiberglass from walmart.. a bit cheaper than the stuff I used on the kayaks!

Here the cloth is laid out.. One layer of fiberglass mat, and one layer of fiberglass cloth. The mat is pretty thick while the cloth makes a smooth top.

I've put the fiberglass and epoxy on the gas cap..

And then on the engine cover.. You can see the fiberglass sagging a bit between the form pieces, so I hung it upside down. Now I've got a very nice smoothed curved piece of fiberglass with no sags.

Finally, here are two pictures of the new controls that are in progress. You'll see more of them later.


