Saturday, April 6, 2013

Wing work

 The weather here is finally starting to warm up a bit!!  I've started digging into the wings.  One wing has a little bit of water damage on the front edge, and the other had some mice living in it.. Both wings had a snapped off trailing edge.

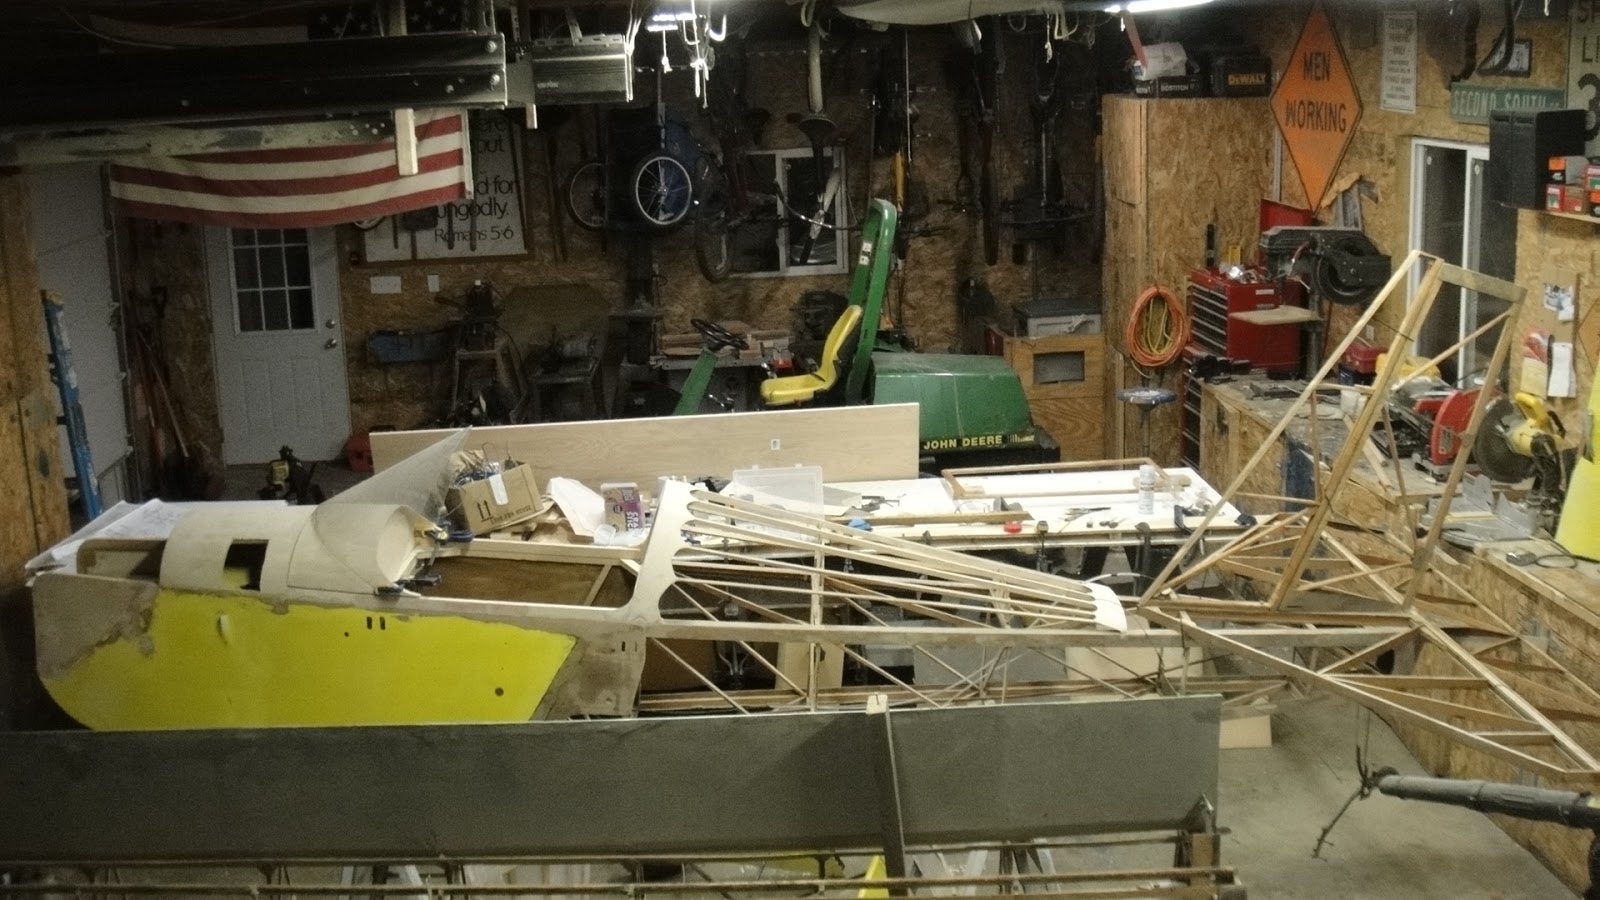
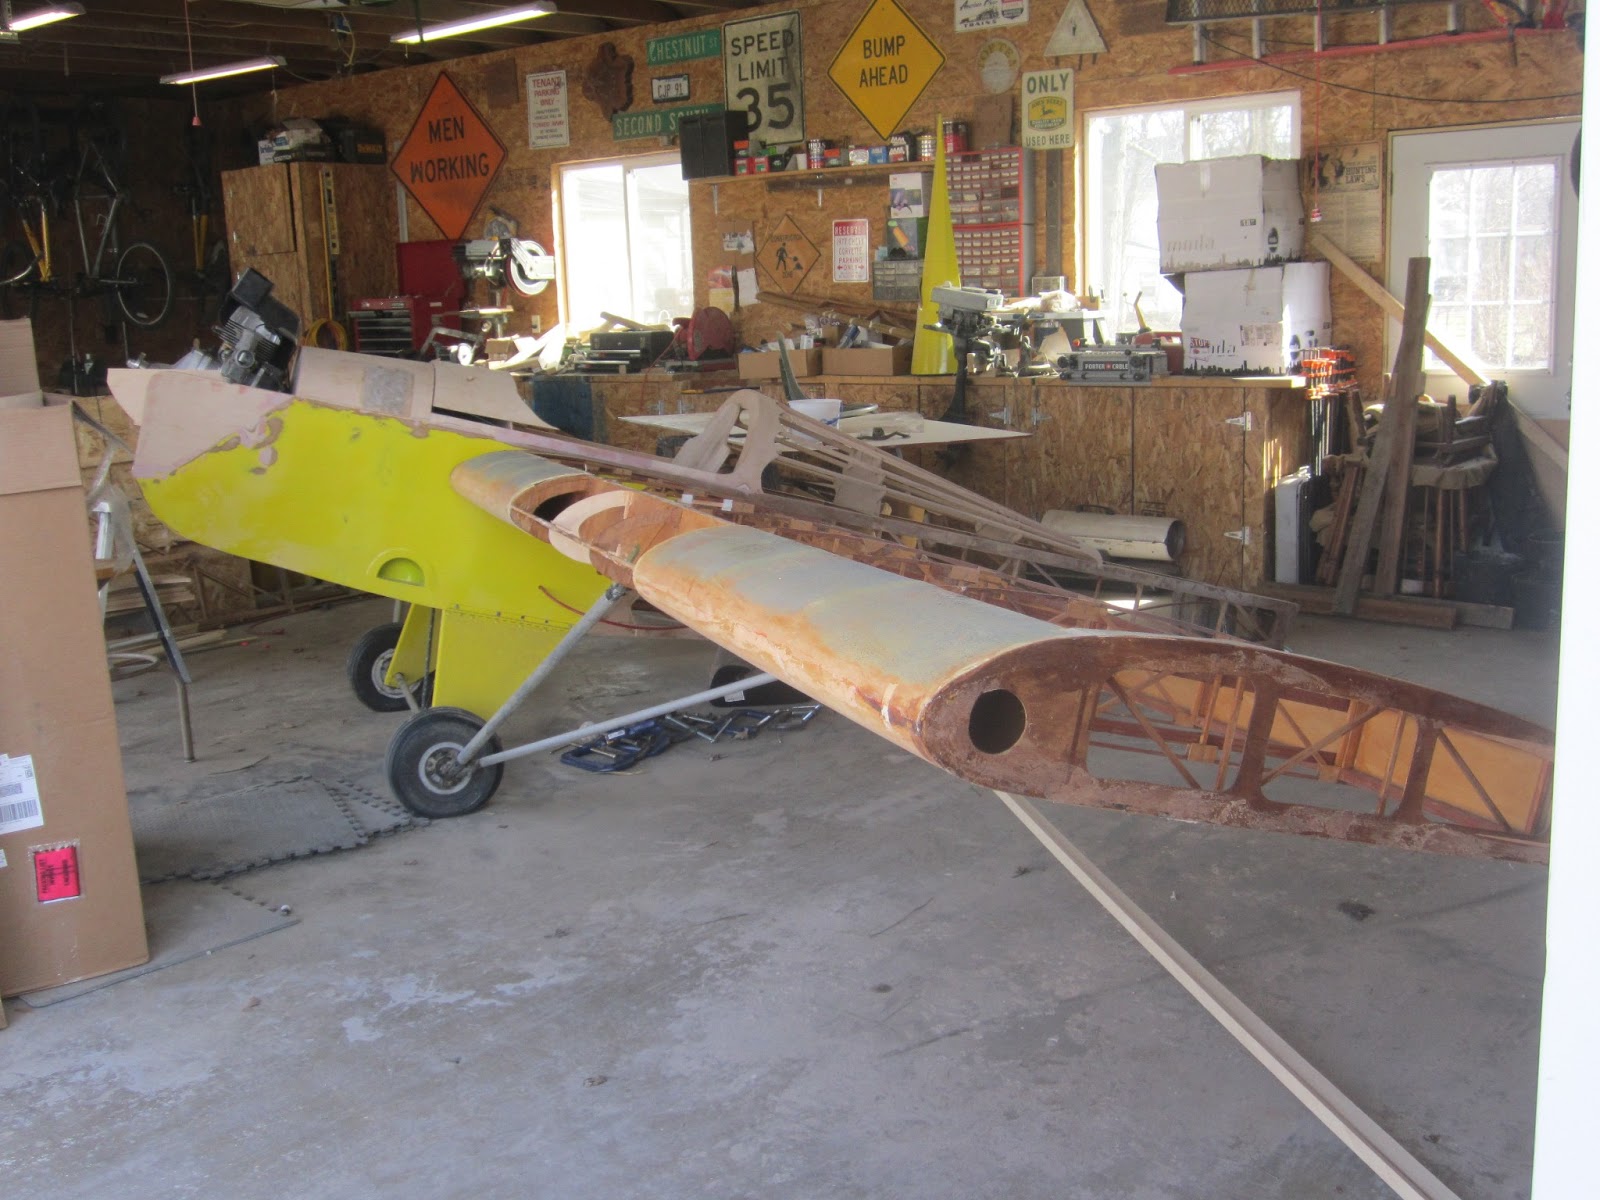
In the first couple pics, I put the wings on just to be sure they fit right.  The looked pretty decent.  There is a small gap between the wings and the fuselage that I'll end up filling with a piece of fiberglass of colored tape.


I trimmed of the old splinters, sanded it down, and then glued on these new pieces.  The're about 1 inch tall and 7/8 wide, and made from poplar. 


The mice chewed out the same piece in almost every rib.  You can spot it in this pic. The piece I replaced with is a bit lighter than the rest.


 The front edge of this wind had a bit of water damage, must of sat in a puddle or something.  I pulled off the rotten wood and replaced it.  I still need to add the plywood face.


Saturday, February 23, 2013

Hardware, back tire, seat, etc.

Long time no post!  First couple pictures are of the hood area, gas lid and hood..


Here are a few of the new hardware pieces I made.  Most of them are aluminum, bead blasted and then tumbled.


 Throttle knob..


New back tire!!


Test fitting the back tire..


One more hole left to fill in as a result of the engine change.


New chair, without any foam yet.


And finally, I cleaned the garage up a bit and pulled the wings out for some repairs.  The garage is getting a bit cramped :)


Friday, December 21, 2012

Fiberglass, Frame, and Flying goggles!

Long time, no post!  Sorry about that.. Here's pictures from the last several weeks.  I'll just go through and describe some of them.  To see all the pictures full screen just double click on one and a slideshow will start.


Once the sides of the motor area were glued on I decided to start working on the rest of the engine covers.. The first pic is a rough cut of the gas lid.


To make the front engine cover, I needed a form.  Thankfully one of my friends had some 3" thick insulation foam that I could cut into the right shape, sand down, and then epoxy.  I actually painted the foam white and covered it with car wax to keep the epoxy from soaking into the foam and sticking to it.


Once the fiberglass gas cap was dry I cut out the hole that leads to the gas tank.


Starting fitting the windshield..


Back in the cockpit I added a couple reinforcing pieces to help strengthen the connection between the front and back of the plane.


Finally, here are a few pictures of the assembled frame.  The tail fins are held on with zip ties right now, because I still need to build the mounting hardware.


Check these things out!!  WOW, aren't they awesome?  Can't wait to get in the air with them!