Long time, no post! Sorry about that.. Here's pictures from the last several weeks. I'll just go through and describe some of them. To see all the pictures full screen just double click on one and a slideshow will start.
Once the sides of the motor area were glued on I decided to start working on the rest of the engine covers.. The first pic is a rough cut of the gas lid.
To make the front engine cover, I needed a form. Thankfully one of my friends had some 3" thick insulation foam that I could cut into the right shape, sand down, and then epoxy. I actually painted the foam white and covered it with car wax to keep the epoxy from soaking into the foam and sticking to it.
Once the fiberglass gas cap was dry I cut out the hole that leads to the gas tank.
Starting fitting the windshield..
Back in the cockpit I added a couple reinforcing pieces to help strengthen the connection between the front and back of the plane.
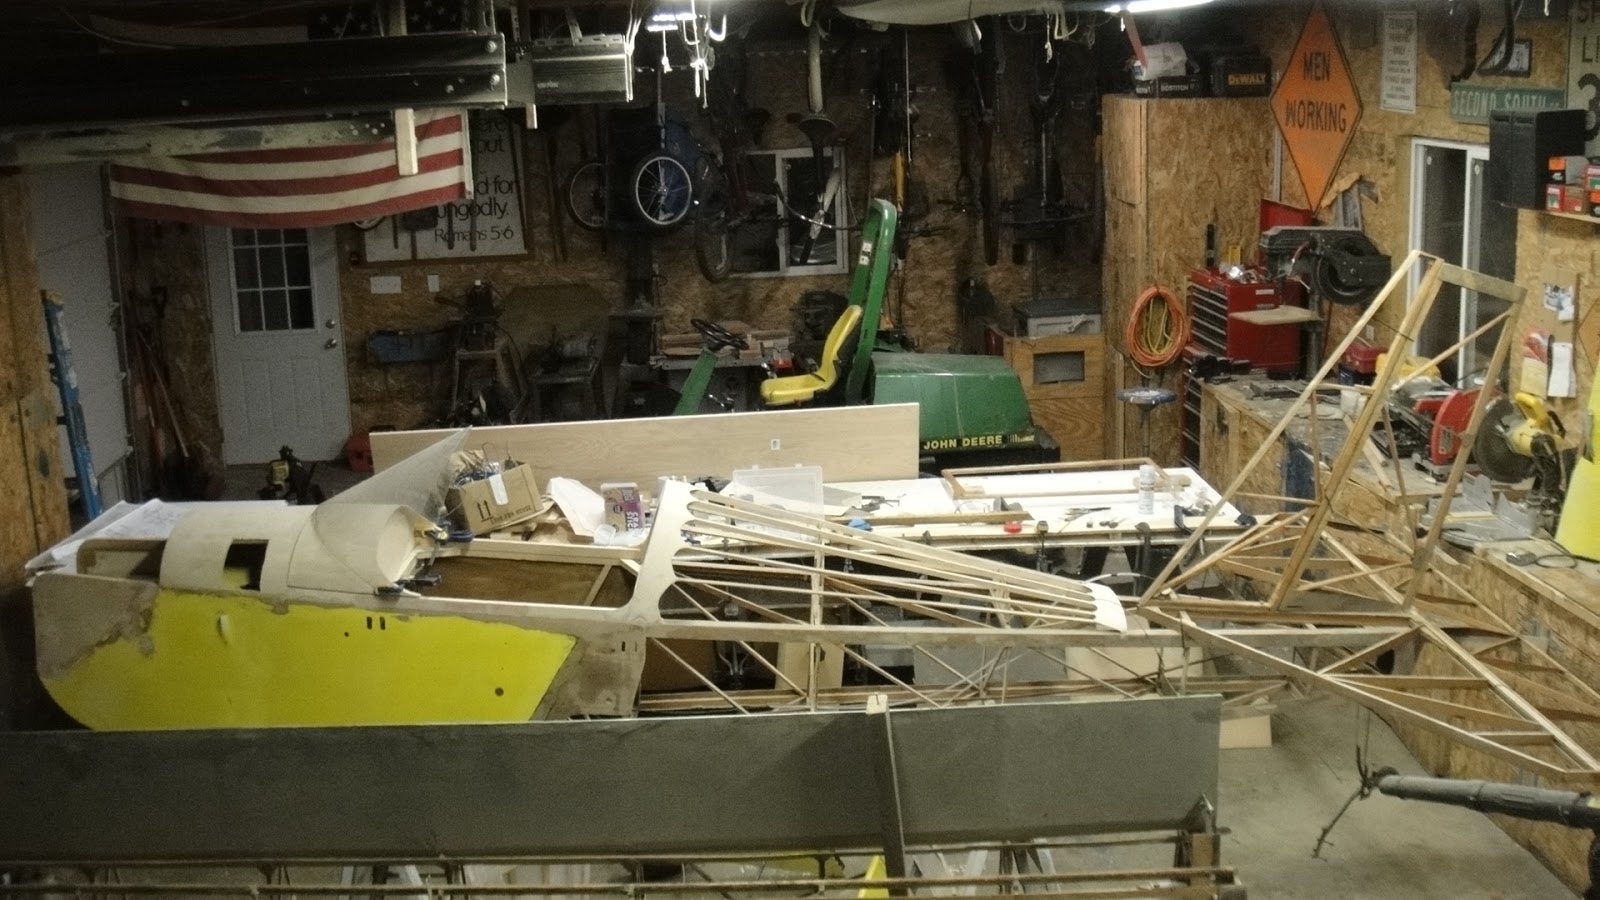
Finally, here are a few pictures of the assembled frame. The tail fins are held on with zip ties right now, because I still need to build the mounting hardware.
Check these things out!! WOW, aren't they awesome? Can't wait to get in the air with them!